Belly Dance Veils, Props & Zills – Belly Dance Spring Cleaning – Week 3

Welcome back to Spring Cleaning for Belly Dancers! We’re into week 3 with our veils, zills and props. This is the week we’ll be dealing with any swords, wings, palm flames and other bellydance “toys”!
Let’s look at this week’s tasks:
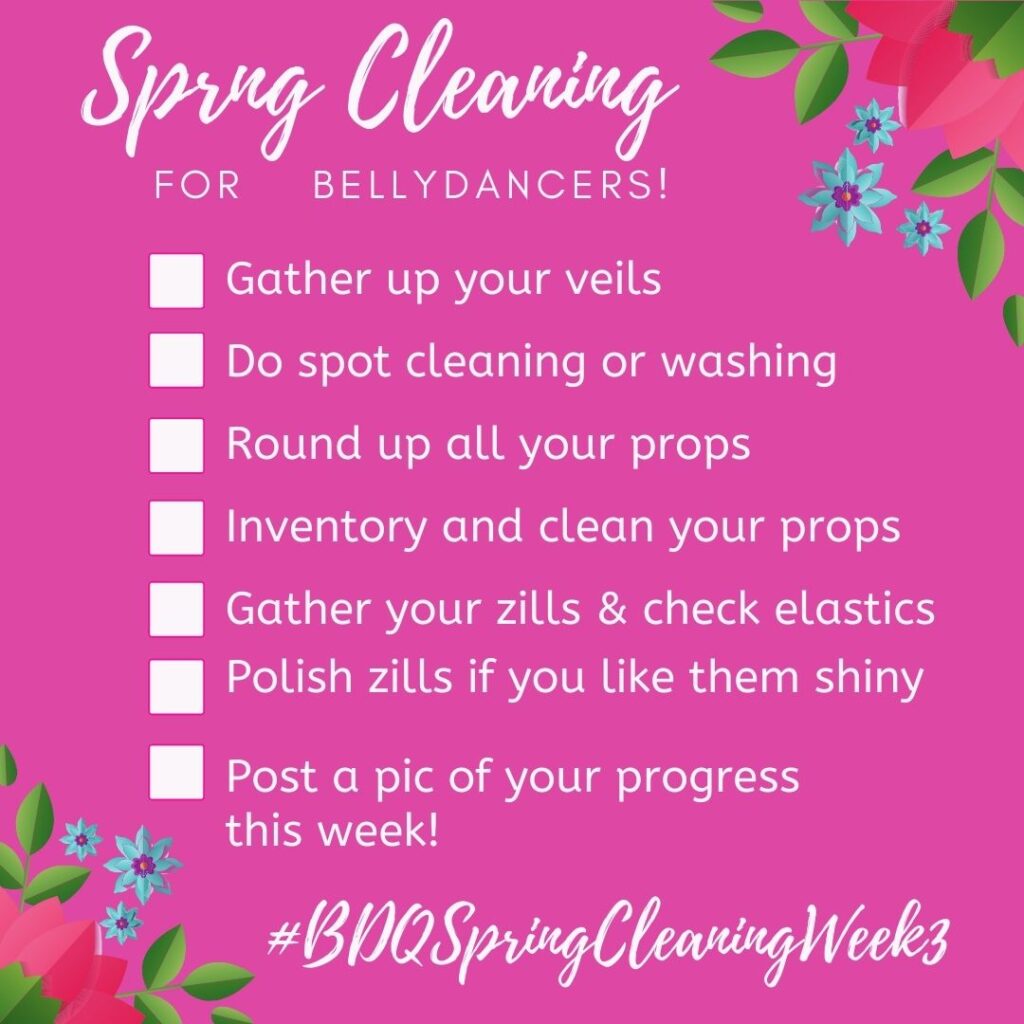
Gather and inspect your veils
Get all your veils together and go over them one by one. Spread it out on a clean surface like a bed. Check it for any holes, snags or stains. Give it a sniff while you’re at it.
Decide if it needs any spot cleaning or just a general washing. Maybe it’s beyond repair? Keep it to use the fabric for some other creative purpose.
Do spot cleaning or washing for your veils
If your veils need spot cleaning, you will first need to consider the fabric (silk, chiffon or something else) and choose a method that will be effective but not damage the fabric. Here is some info:
Personally, I’ve had great success with these products on all kind of veils. They have formulas or everything from lipstick to grease. Be sure to follow the instructions – each formula is used differently.
If your veils just need a general washing, you can put them in the gentle cycle of a washing machine with cold water and detergent for handwashables, if you are 100% sure the color won’t run! Test first! I believe it’s safer to wash them one at a time in a basin of sudsy water, changing the water if you see color running. Start with the lightest colors first then work your way to the darkest.
Wring them out gently and then hang to dry to minimize wrinkling.
Round up your props
Gather all your wings, swords, trays, palm flames and other prop-type items. Add all the goodies to the inventory system you started for your costumes in Week 1 – whether you’re going digital or old school on paper. Check them over for any repairs or if they need to be replaced. Clean and polish anything that’s looking dull or dirty.
Because of their pleating, Isis wings should not be washed. Spot clean as you would for a veil or costume if there are any stains. Check the sticks and the pockets that hold them – they sometimes develop holes that will cause your sticks to slide out.
Any metal props can polished using an appropriate metal polish. If you’re unsure of what metal your prop is made of, read the articles below and pick the most gentle method and try it on a less visible part of the item to test it out.
Here’s an article on cleaning and polishing brass
Zill inspection time!
Gather up all your zills – I know some of you have a lot of sets! Try them on and check for any elastic that needs replacing. Set those that need fresh elastic aside and put a sewing date on your calendar.
Some people are “team shiny” and some are “team antique”. If you’re on team shiny, the same metal polishing advice for your props would apply to your zills too. Otherwise, a good rubbing with a soft cloth to remove dirt is probably enough.
This is a good time to consider how you store your finger cymbals too. Do they have a pouch of their own? Are they all tossed together in a box? It’s best to keep each set stored separately in cloth bags so the metals don’t react to each other. This also minimizes oxidation and any chipping that may occur from sets hitting each other as you sort through them.
What about “tuning” your zills? If you’ve been around the bellydance world long enough to remember Bhuz, you may have heard about this technique – basically baking them in an oven. I’ve tried it and I don’t believe it had any effect. When you think about it, what home oven would be hot enough to actually affect the metal? And to get a better “in tune” sound, the shape would need to be changed very specifically, which is highly unlikely to happen just by baking and cooling them. It’s also unlikely you will ruin them, so decide for yourself.
Post a picture of your progress on Instagram – you might win this week’s prize!
For rules on how to post, read the bottom of this article.


One thought on “Belly Dance Veils, Props & Zills – Belly Dance Spring Cleaning – Week 3”
Comments are closed.